Geometry
How to Construct a 60° Angle with a Compass and Ruler
A 60° angle turns up in more places than most people notice: equilateral triangles, honeycomb tiling, isometric graph paper, the hexagonal shelves in a workshop. It is also the one angle you can build perfectly without a protractor — no measuring, no estimating, no half-degree wobble. A compass, a straight edge and about two minutes are all you need. Learn it once, and you have the starting point for 30°, 120°, equilateral triangles and regular hexagons.
Before You Start
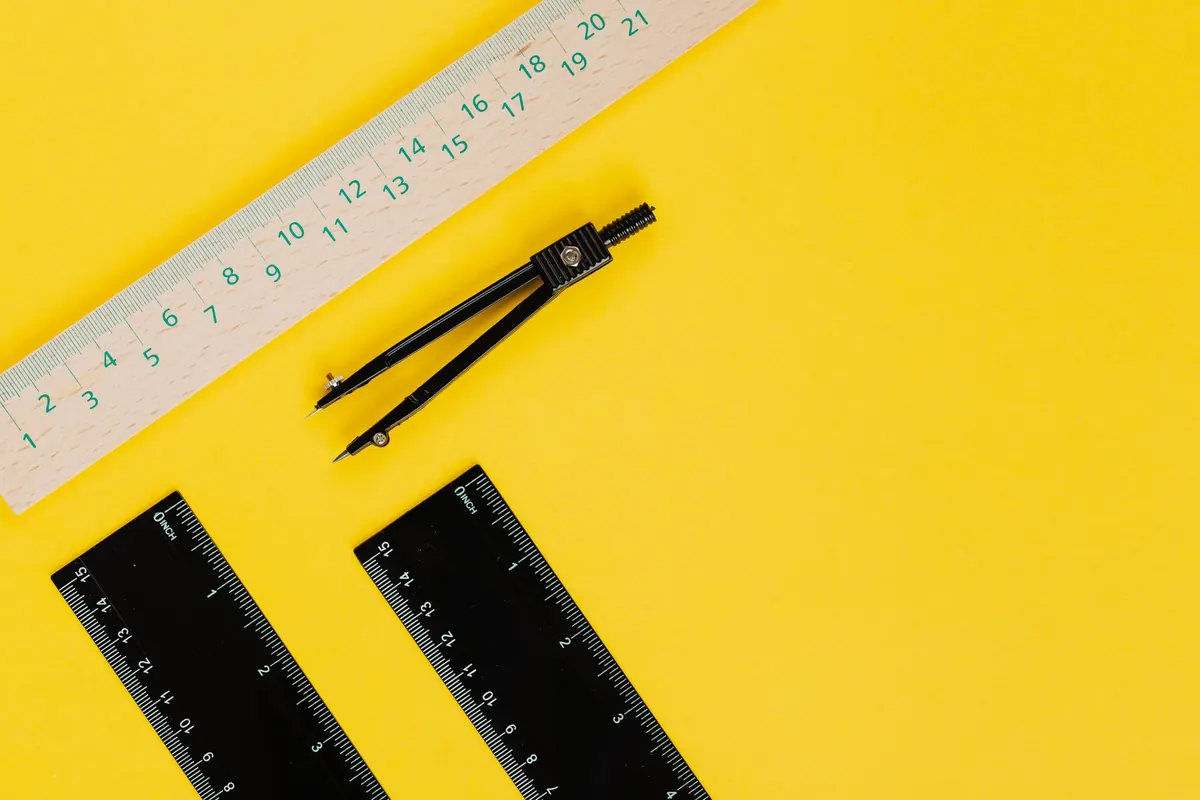
You need very little equipment, but the little you have should be in good order. A wonky compass will produce a wonky angle, however carefully you follow the steps.
- A compass with a firm hinge. Test it: set a width, then press gently on the legs. If they slide, the radius will drift halfway through the drawing.
- A sharp pencil. An HB or 2H sharpened to a fine point is ideal. Lead that is too soft smudges; lead that is blunt widens every intersection.
- A straight edge. A ruler is fine, but you only use it to draw lines — never to measure. The whole point of this construction is that no measurement is involved.
- Smooth paper. The compass point should bite into the surface, not skid across it. Rough cartridge paper holds a point far better than thin photocopy paper.
- A soft eraser, used rarely. Leave the construction arcs on the page until the angle is drawn and checked. Rubbing out too early hides the evidence you need.
Keep the point of the compass facing down onto the desk when it is not in your hand; it is sharp enough to leave a mark on fingers as well as paper.
The Construction, Step by Step
Work at a comfortable scale. A radius of around 5 cm gives arcs that are easy to read and intersections that are easy to mark precisely.
- Draw the first arm. Draw a straight line across the page and mark a point A on it, roughly a third of the way from the left. A is the vertex of your angle; the line is one arm of it.
- Set the compass radius. Open the compass to a convenient width — 5 cm is a good default. Set it once and leave it alone for the rest of the construction. That fixed radius is the engine of the method.
- Mark the second point. Put the compass point on A and swing a wide arc that crosses the line. Label the crossing B, and keep the arc long, because you will use it again in a moment.
- Cross the first arc. Without changing the radius, move the compass point to B and swing another arc that cuts through the first one. Where the two arcs meet, draw a small, clean cross and label it C.
- Draw the second arm. Lay the straight edge from A through C and draw a line. The angle at A, between this line and your original line, is 60°.
That is the entire construction: five steps, one compass setting, no numbers.
Why It Works
There is no trick here, and once you see the reason the method feels less like a recipe and more like an obvious consequence.
Point C lies on the arc centred at A, so the length AC equals the radius. It also lies on the arc centred at B, so BC equals that same radius. And B itself was marked by the arc from A, so AB equals the radius as well. Three sides of equal length, therefore triangle ABC is equilateral — and every angle in an equilateral triangle is 180° ÷ 3 = 60°.
Three equal sides force three equal angles. Nothing is measured, so nothing can be rounded.
This is why the construction is often more accurate than reading a plastic protractor, where the eye has to judge a mark against a scale. Here the geometry does the judging for you.
Accuracy Tips That Make a Real Difference
- Lock the radius. The most common error is a small, unnoticed twist of the compass between step 3 and step 4. If you are unsure, re-check the width against the same arc before drawing the second one.
- Draw arcs long and light. A generous arc gives you a clear, unambiguous crossing. A short, heavy arc gives you a smudge that is impossible to place precisely.
- Mark intersections with a cross, not a dot. Two short strokes meeting at the crossing point show exactly where the arcs intersect. A pencilled blob can be half a millimetre wide.
- Hold the compass by the top knob. Rotating by gripping the legs squeezes them together and quietly changes the radius.
- Place the point exactly. If the metal point wanders into an existing pencil hole, it will sit slightly off centre. Rotate the paper and mark from a fresh angle instead.
- Do not press hard. A deep dent in the paper pulls the needle off course on the next swing.
Checking Your Work
Set the compass back to the width AB and test the other two sides of the triangle. If the construction is sound, the same setting will span A–C and B–C with no visible gap or overlap. A tiny discrepancy at 5 cm radius is normal; a gap you can see clearly means something shifted.
Two mistakes account for most failures. The first is adjusting the compass midway, usually to make an arc reach further — draw a larger arc instead. The second is drawing the second arc from roughly B rather than from the exact intersection, which tilts the final line by a degree or more. If your angle looks slightly off, rebuild it from scratch rather than nudging the line: a correction by eye undoes the whole advantage of constructing it geometrically.
Where It Leads Next
Once you can produce 60° reliably, several other constructions follow immediately:
- An equilateral triangle: simply join A, B and C — you have already built it.
- 120°: repeat the construction on the other side of the line at A.
- 30° and 15°: bisect the 60° angle, then bisect the result.
- A regular hexagon: step the compass radius around a circle; each side subtends 60° at the centre.
It is worth knowing the limits too. Not every angle can be constructed this way. Trisecting a 60° angle to get 20° is impossible with compass and straight edge alone, no matter how patient you are — a useful fact to remember before spending an afternoon on it.
Putting It Into Practice
Try the construction three times in a row: once at a 3 cm radius, once at 8 cm, and once without marking the intersections at all until the final step. That last version is a good test of whether you are placing the compass point accurately or simply getting lucky.
Then use it. Set out an isometric grid for a sketch, mark hexagonal tiles on a template, or lay out a hexagon of shelves. The more often you draw it, the more natural the sequence becomes — and the next geometric construction that depends on 60° will take you half the time.
Related Articles