Protractors
How to Measure an Angle with a Protractor: A Step-by-Step Guide for Beginners
A protractor looks straightforward until the moment you place it on the page. Two sets of numbers run in opposite directions, the centre mark is smaller than you expect, and the answer has to land somewhere between them. Measuring an angle is not difficult, though. It is a short routine you repeat the same way every time: align the centre, align the baseline, choose the correct scale, read the degree mark, then check the result before you write it down.
This guide walks through that routine step by step, with the small practical details that make the difference between a measurement you can trust and one that is a few degrees out.
What you need on the desk
Before measuring anything, sort out your materials. Most errors come from the equipment, not from the person using it.
- A 180° protractor. A clear plastic one with visible graduations is easiest to work with. A 360° circular protractor also works, but for ordinary angle work the semicircular version is simpler.
- A sharp pencil. A blunt point can shift a line by a degree or more on a small drawing.
- A ruler, if you need to extend the arms of the angle so they clearly reach past the protractor's scale.
- The angle itself, with the vertex marked. If the two lines meet at a point that is hard to see, mark it with a small dot first.
One more thing: work on a flat, well-lit surface. Reading a scale from an angle introduces parallax, and parallax is just error waiting to happen.
Step 1: Put the centre mark on the vertex
Every protractor has a small mark at the middle of its straight edge — sometimes a cross, sometimes a tiny hole, sometimes a notch. That mark is the centre, and it must sit exactly on the vertex of the angle: the point where the two arms meet.
Place it carefully, then hold the protractor down with one hand so it cannot slide. If yours has a hole at the centre, you can push a pencil point through it to hold the position. That is genuinely useful on small angles, where a millimetre of movement changes the reading.
Step 2: Line up the baseline with one arm
The straight edge of the protractor is its baseline, and it is marked with a zero at each end. Rotate the protractor until this baseline lies exactly along one arm of the angle. The arm should run under the edge from the centre mark outwards, sitting on the zero line rather than merely near it.
If the arm is shorter than the protractor's radius, extend it with a ruler and a sharp pencil. A line that stops halfway across the scale makes the final reading harder than it needs to be.
Step 3: Decide which scale to read
This is where most beginners go wrong. A standard protractor carries two numbered scales, each running from 0 to 180 but in opposite directions. They are mirror images of each other, and only one of them is correct for the angle in front of you.
Use the zero to decide. Look at the arm you aligned along the baseline and find the zero that sits on it. If the arm rests on the outer zero, read the outer scale. If it rests on the inner zero, read the inner scale.
A sanity check before you read
You can also judge by size. If the angle is clearly acute — narrower than a right angle — the answer must be less than 90°. If it is obtuse, wider than a right angle, the answer must be more than 90°. Reading 130° for an obviously sharp angle means you have picked the wrong scale.
Step 4: Read the number where the second arm crosses
Follow the second arm outwards until it meets the scale you selected. The graduation it lines up with is your measurement.
Count carefully. The long marks usually show tens, the medium marks fives, and the smallest marks single degrees. If the arm falls between two single-degree marks, read to the nearest degree — or to the nearest half degree if the protractor allows it. Writing "47°" is honest; writing "47.3°" from a plastic protractor is not.
Check your answer before you move on
Good measuring always includes a check. Two quick methods work well.
- Add the two scale readings. The inner and outer numbers at the same graduation on a 180° protractor always add to 180. If you read 40° on one scale, the mark underneath should read 140° on the other.
- Measure from the other side. Without changing the angle, line the baseline up along the second arm instead. You should get the same number.
Estimating first helps too. A rough guess — "this looks like about 60°" — before you measure gives you something to compare against, and a reading wildly different from your estimate is a signal to look again.
Common mistakes worth avoiding
- Centre slightly off the vertex. Even a small offset shifts the reading, especially on acute angles.
- Reading the wrong scale. It is worth saying twice, because it remains the most frequent error.
- Viewing from the side. Look straight down at the scale so the numbers and graduations line up properly.
- Letting the protractor slip. Hold it steady, or pin it through the centre hole.
- Rounding without saying so. If your protractor only reads to the nearest degree, that is the precision of your answer.
Practice that actually helps
Pick up a sheet of paper and look at a corner. That is 90°, a free reference point you always have to hand. Fold the corner in half and you have 45°. Fold it again and you have 22.5°. Measuring these known angles with your protractor tells you quickly whether your technique is reliable.
Then draw a few angles of your own — one at 30°, one at 75°, one at 120° — and measure them. It feels odd to measure something you already know the answer to, but that is exactly what makes it useful: you can see whether your reading lands where it should. Once a handful come back correct, the routine is yours, and a protractor stops being an awkward piece of plastic and becomes a tool you can pick up and trust.
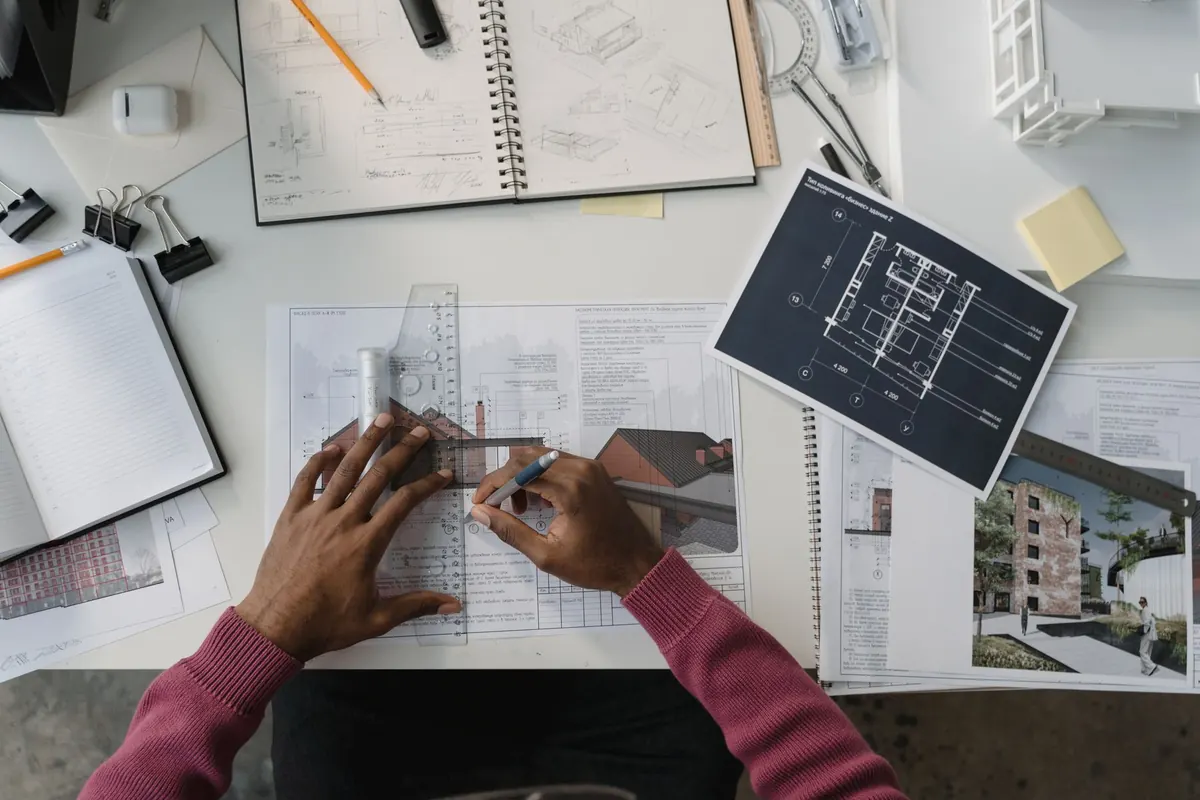
Photo: Tima Miroshnichenko / Pexels